Principle Lab
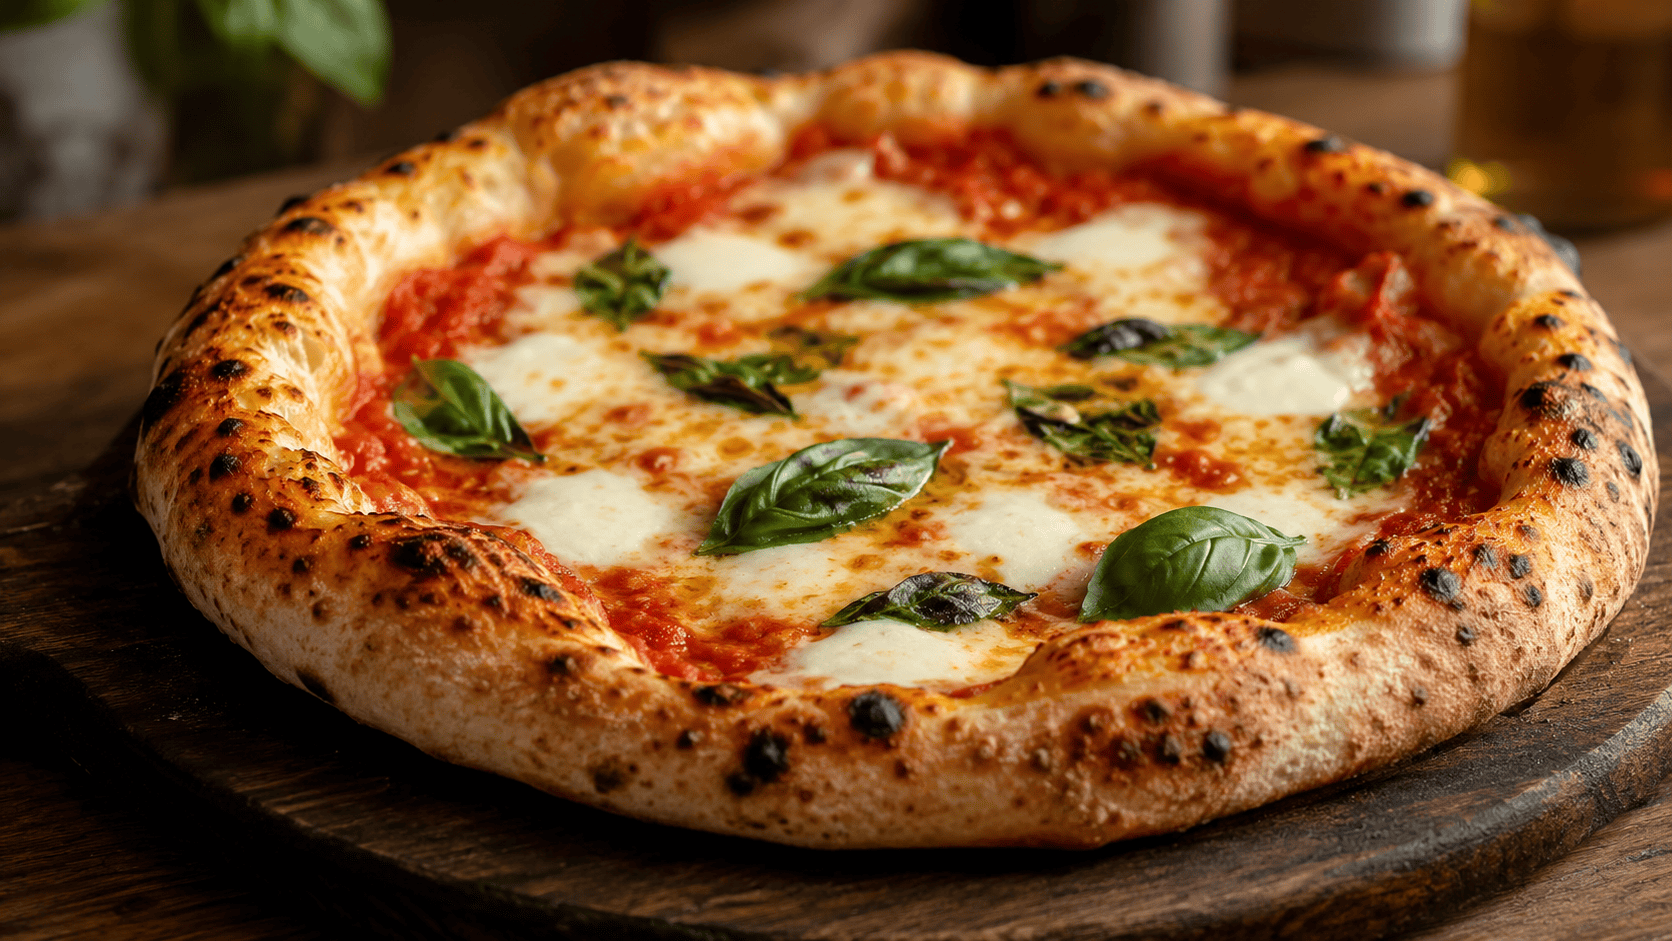
Overnight Pizza Dough
Jump to Recipe ↓The Principle
Time does the kneading for you. Flour and water left to rest overnight develop gluten naturally through a process called autolysis. Enzymes break down starches into sugars. Yeast produces flavor slowly. No kneading required.
What You Need
Structure
- 3 1/4 cups bread flour (about 400g. Bread flour has more protein for better gluten development.)
- 1 1/2 cups warm water (about 350g. Warm, not hot. Roughly 100°F.)
Leavening
- 1/4 tsp active dry yeast (or instant yeast. The long fermentation means you need less than most recipes call for.)
Structure Support
- 2 tsp kosher salt
- 1 tbsp olive oil (plus more for the bowl)
Method
-
In a large bowl, whisk together flour, yeast, and salt.
-
Add water and olive oil. Mix with a wooden spoon or your hands until no dry flour remains. The dough will look shaggy and rough. That's fine. You are not kneading.
WhyKneading speeds up gluten development by force. You're letting time do that work. A shaggy mix at this stage is exactly what you want. The flour particles will fully hydrate during the overnight rest.
-
Cover the bowl tightly with plastic wrap. Leave it on the counter at room temperature for 12 to 18 hours. Overnight is the sweet spot.
WhyDuring this long rest, three things happen. Flour proteins (glutenin and gliadin) link into gluten strands on their own through hydration and time. This is autolysis. Enzymes in the flour break starches into simple sugars, which feed the yeast slowly for better flavor. And the yeast produces gas and fermentation compounds at a slow, steady rate instead of the fast, bland rise of warm-water quick doughs.
-
The dough should have doubled in size with a bubbly, domed surface. Turn it out onto a floured surface. Divide into two equal pieces. Shape each into a ball by folding the edges into the center and pinching. Place seam-side down on a floured sheet pan. Cover loosely and rest for 1 hour.
WhyShaping into balls creates surface tension that helps the dough hold its form. The second rest relaxes the gluten you just tightened by handling it. Skip this rest and your dough will snap back when you try to stretch it.
-
One hour before baking, place a pizza steel or stone on the middle rack. Heat your oven as high as it goes. 500°F minimum. Let it preheat for a full hour.
WhyA home oven at 500°F uses mostly hot air to transfer heat. Air is a terrible heat conductor. A pizza steel or stone acts as a heat battery. It stores energy and dumps it into the dough on contact, which is what creates the puffy, crisp, blistered bottom crust. Without a preheated surface, the dough steams instead of searing.
-
Stretch one dough ball on a floured surface. Use your hands, not a rolling pin. Press from the center outward, leaving a thicker rim for the crust. Transfer to a floured peel or parchment. Top and slide onto the steel. Bake 7 to 10 minutes until the crust is deep golden and the bottom is crisp.
WhyHand stretching preserves the gas bubbles the yeast worked all night to create. A rolling pin crushes them. The thicker rim puffs into an airy cornicione (the pillowy edge of a properly fermented pizza).
What Can Go Wrong
Dough snaps back when stretching?
The gluten hasn't relaxed enough after shaping.
Let the balls rest for another 20 to 30 minutes. Gluten relaxes with time. Don't fight it.
Dense, tough crust?
The dough didn't ferment long enough, or the yeast was dead.
Make sure your water is warm, not hot. Above 120°F kills yeast. Give it the full 12 hours. A longer cold ferment in the fridge (24 to 48 hours) develops even more flavor.
Pale, soft bottom?
The oven or baking surface wasn't hot enough.
Preheat the steel for a full hour at max temperature. If you don't have a steel or stone, use a heavy overturned sheet pan. It won't match a steel, but it's better than a cold pan.
Sticky, hard to handle dough?
High hydration dough is naturally sticky. That's a feature, not a flaw. Wet dough makes airy crust.
Use a bench scraper and floured hands. Don't add more flour to the dough itself. Wet dough bakes into the best crust.
The Science Behind This Recipe
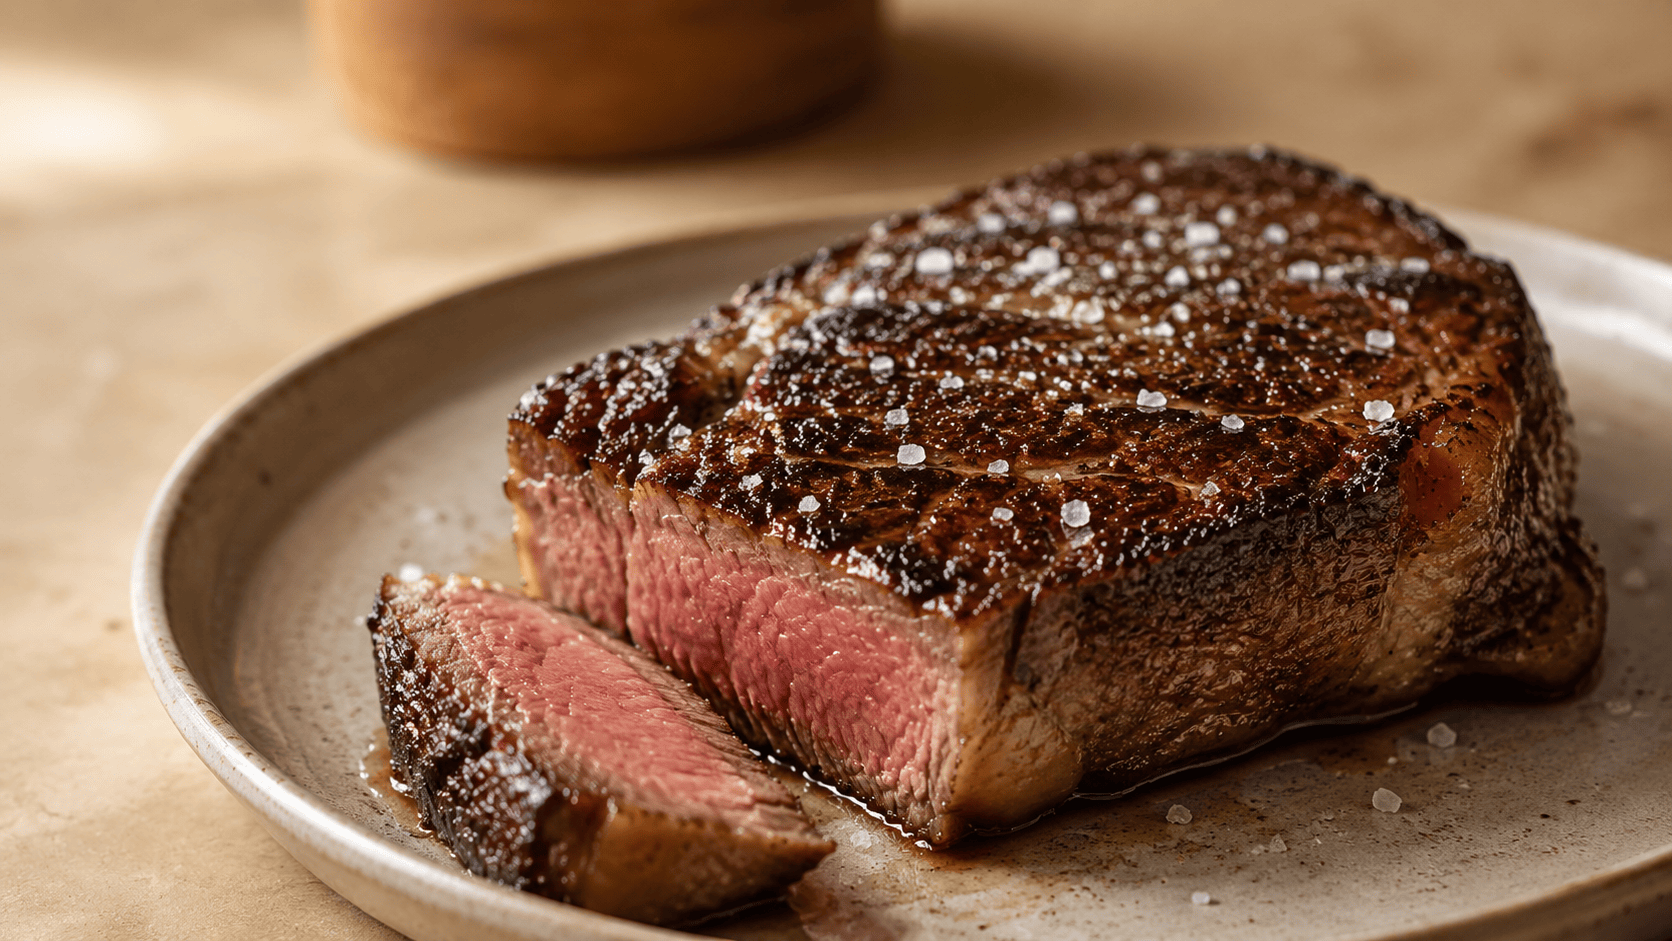
Cook This Next
You kneaded for 15 minutes. Your arms were sore. And the dough still snapped back every time you tried to stretch it thin.
This is the frustration of pizza dough made the traditional way. You fight gluten when it’s tight. You knead to develop structure that time would have built on its own. And you rush a process that rewards patience.
The best pizza dough you’ll ever make at home requires almost no work. It requires time. Twelve hours of it, ideally while you sleep.
Here’s what happens during that long rest. Flour contains two proteins, glutenin and gliadin. When water hits them, they link up into gluten strands. Kneading speeds this up by force. But the same thing happens on its own through hydration and time. This is called autolysis. The flour essentially kneads itself.
Meanwhile, enzymes already in the flour (amylase) break complex starches into simple sugars. The yeast eats those sugars slowly, producing carbon dioxide for rise and fermentation compounds for flavor. A fast dough tastes like flour and water. An overnight dough tastes like a pizzeria.
And the gluten, after 12 hours of slow development, stretches thin without fighting back.
Before You Start
Read Why Dough Needs Rest to understand what’s happening at the gluten level during fermentation. That article explains why dough that snaps back isn’t bad technique. It’s tight gluten. And time fixes it.
Read Why Your Pizza Crust Isn’t Crispy to understand why a pizza steel matters more than your dough recipe. That article explains heat transfer and why your oven at 500°F still needs help getting a crisp bottom.
This recipe doesn’t require a stand mixer, a kneading technique, or any special skill. It requires a bowl, a scale if you have one (but measuring cups work), and the willingness to mix tonight and bake tomorrow. That’s the whole secret.
Better cooking starts
with understanding.
One cooking problem at a time, explained clearly.
Follow @betterbitelab